


01. Start plugin
Open RevuKit in Framer and begin the setup flow.

Framer Plugins
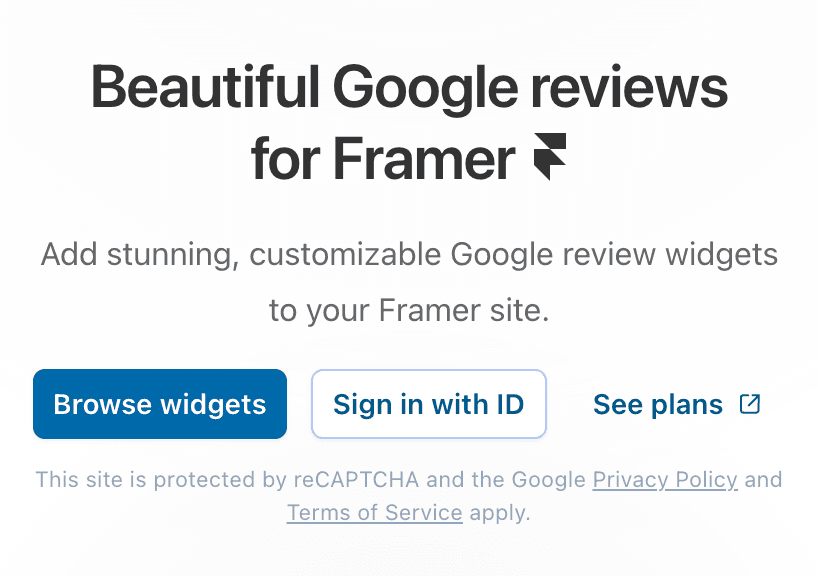
Show live Google reviews on your Framer site with a native workflow that looks polished and publishes fast.
If your goal is to show reviews on a Framer site, you need speed, design control, and reliable sync. RevuKit is purpose-built for that exact use case.
Framer plugins run directly in your project workflow. RevuKit follows that model so you can add testimonial-style social proof without custom code or brittle embeds.
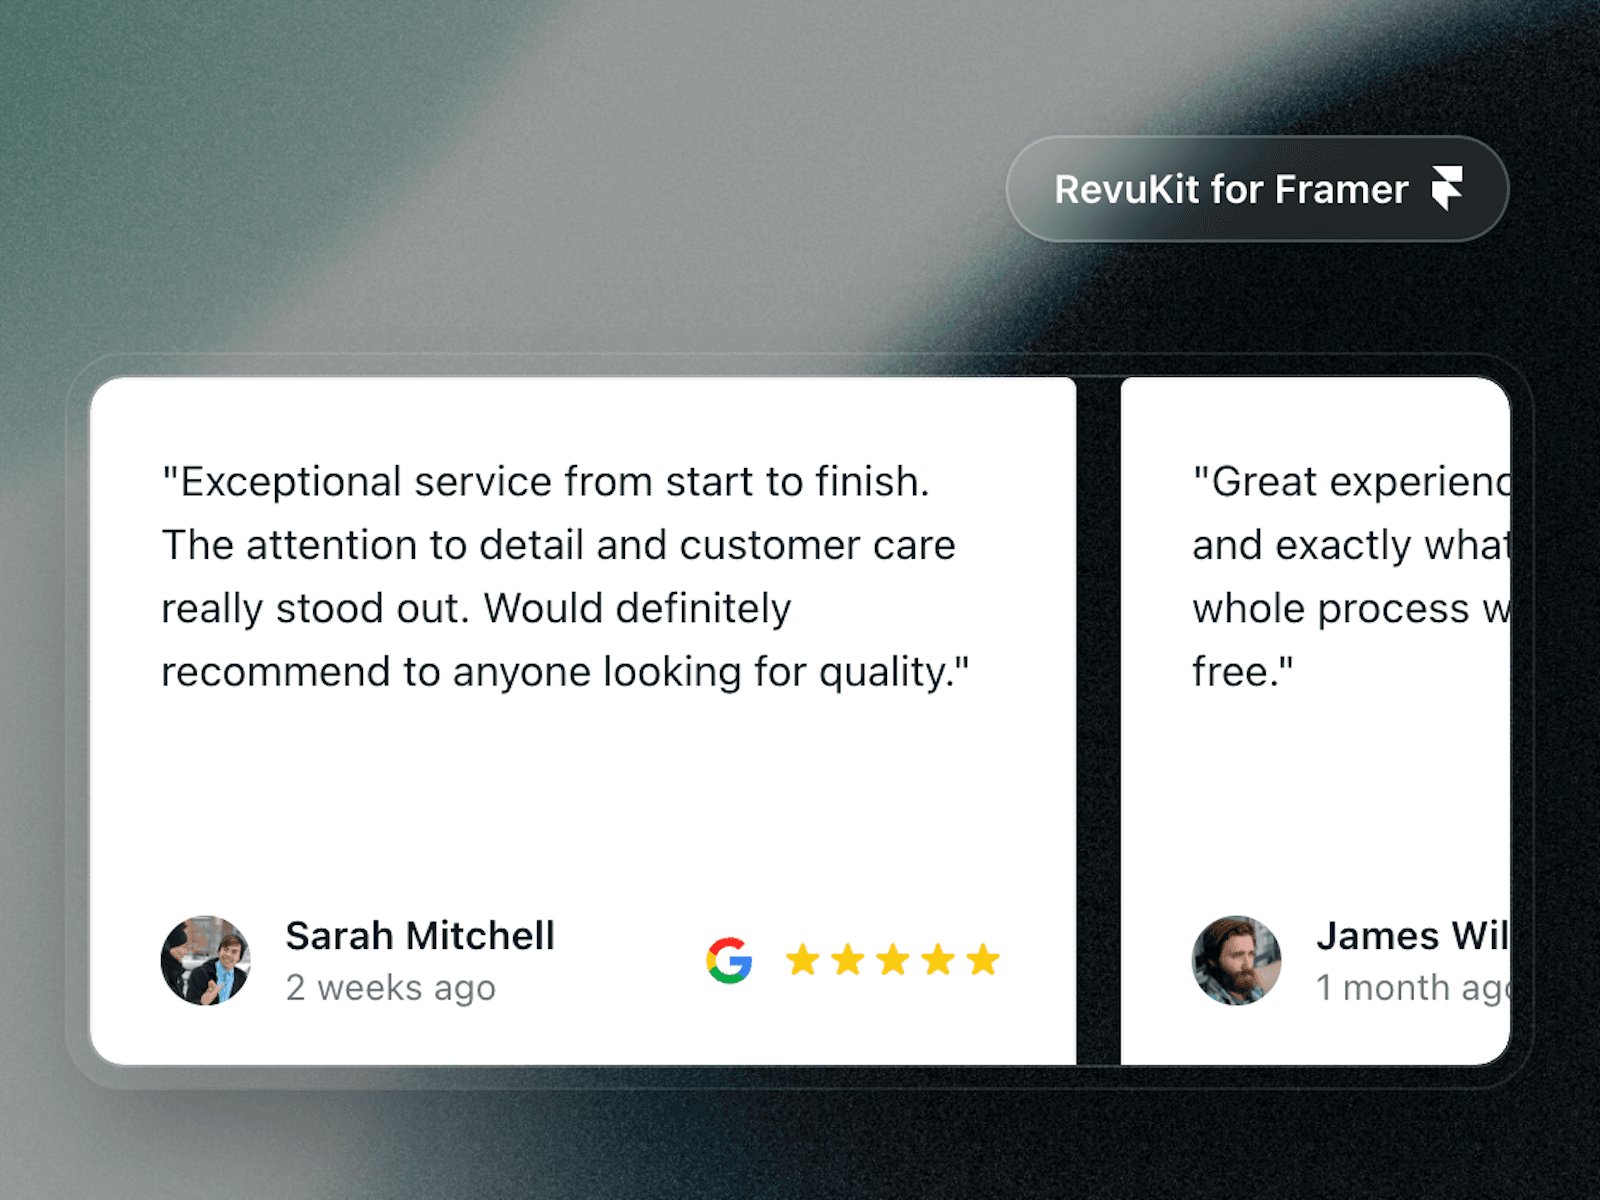
Plugin preview: RevuKit on Framer Marketplace
Reference: Framer plugin docs
If you need to add reviews to a Framer website quickly, follow this simple publish workflow. It avoids custom API setup and keeps your social proof visible on both desktop and mobile.
This method is the most practical way to show testimonials and Google reviews on a Framer site without custom code maintenance.
Need the full flow? Use the Framer extension page.
If you work in the Framer app, the RevuKit flow is the same: open your project, run the plugin, connect your Google Business profile, then choose a widget and publish. You can follow the same steps in browser-based Framer projects as well.
For fastest setup, publish one widget first, confirm it renders correctly on your page, then return to style variants and placement.
Use this visual sequence for the plugin flow: start, connect business, then choose widget and publish.
Swipe or use steps to navigate
01. Start plugin
Open RevuKit in Framer and begin the setup flow.

02. Connect business
Connect your business profile before publishing widgets.

03. Choose widget and publish
Choose your widget and publish it live on your Framer site.
Where you place reviews matters as much as the widget style. Use placement based on page intent so social proof supports conversion without distracting from the core action.
Sources: BrightLocal 2025 survey, Google review reporting help, Google prohibited & restricted content policy.
Install RevuKit, connect your Google Business profile, choose a layout, and place the review section near your most important CTA. This is the fastest way to add reviews to a Framer website.
If you want live Google review social proof in Framer, RevuKit is purpose-built for that use case with native Framer workflows and automatic review sync.
Install RevuKit from the Framer Marketplace, connect your Google Business profile, choose your widget, then publish directly on your Framer page.
On homepages put reviews near the main CTA, on pricing pages place them close to plan comparison and buy/contact CTAs, and on service pages keep reviews near service descriptions and lead forms.
Yes. You can publish free widgets immediately. Paid widgets are available when you have an active plan.
Use this URL: https://www.framer.com/marketplace/plugins/revukit-google-reviews/preview/
No. Google policy prohibits offering incentives for review posting and selectively soliciting only positive reviews. Ask all customers for genuine feedback.
Ready to add live Google reviews to Framer? Open the RevuKit plugin preview.
Related Articles
February 19, 2026
Meet the AI Summary Carousel — RevuKit's newest premium widget. AI-generated review summaries, word-by-word reveal, 3D tilt physics, and aurora animations. See how it works.
July 2, 2026
Add Google reviews to your website with a free Google review widget, platform setup paths, placement tips, and SEO-safe implementation guidance.
January 15, 2025
Learn why Google review widget updates matter, how 24-hour sync compares with 72-hour cache delays, and how fresher reviews protect trust.